Flybook recently introduced a new CRM Feature. Below is a step-by-step guide for setting up the CRM feature and how to use it.
Flybook CRM Setup
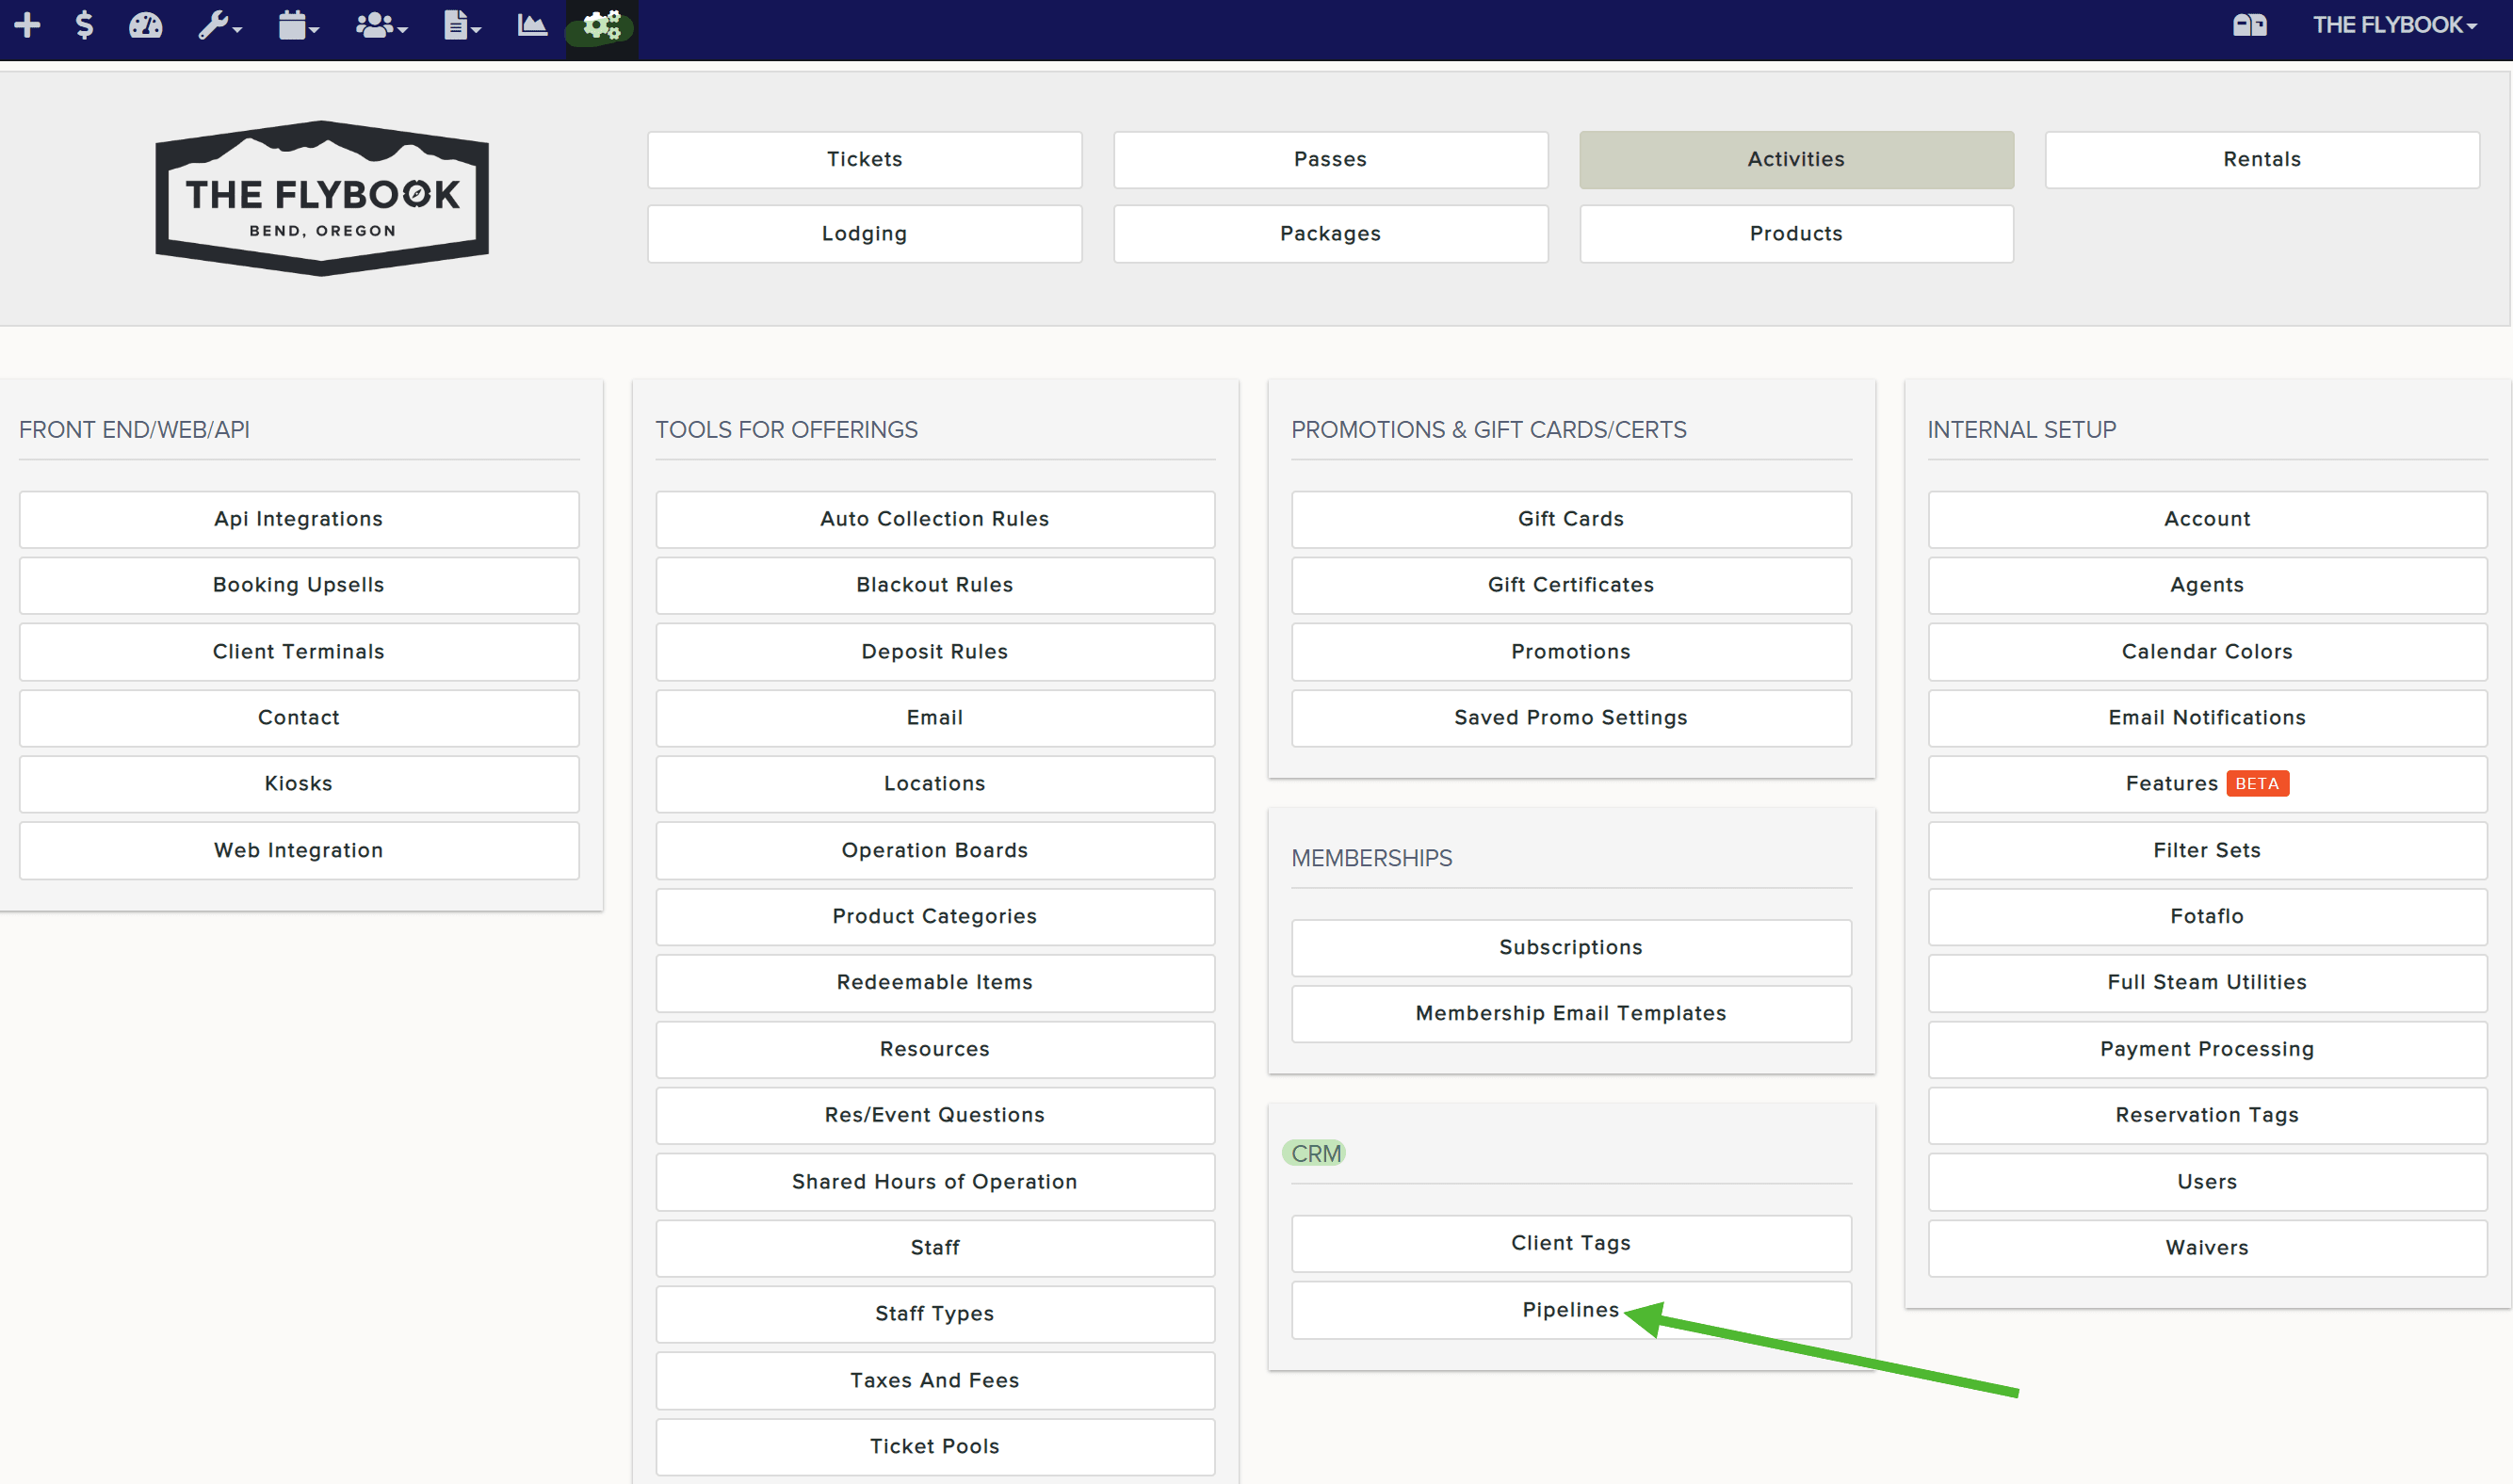
- Start by going to Setup. Then under CRM, select Pipelines.
- Pipelines can be for various different things. You might have different pipelines for each person in your office that's working on those reservations. Separately, you might have different pipelines to indicate different types of groups you have, for example, school groups, camp groups, or corporate groups. In the example we'll be using for the rest of these instructions, we're going to set up a pipeline for camp groups.
Click Add New and name your pipeline and click Create.

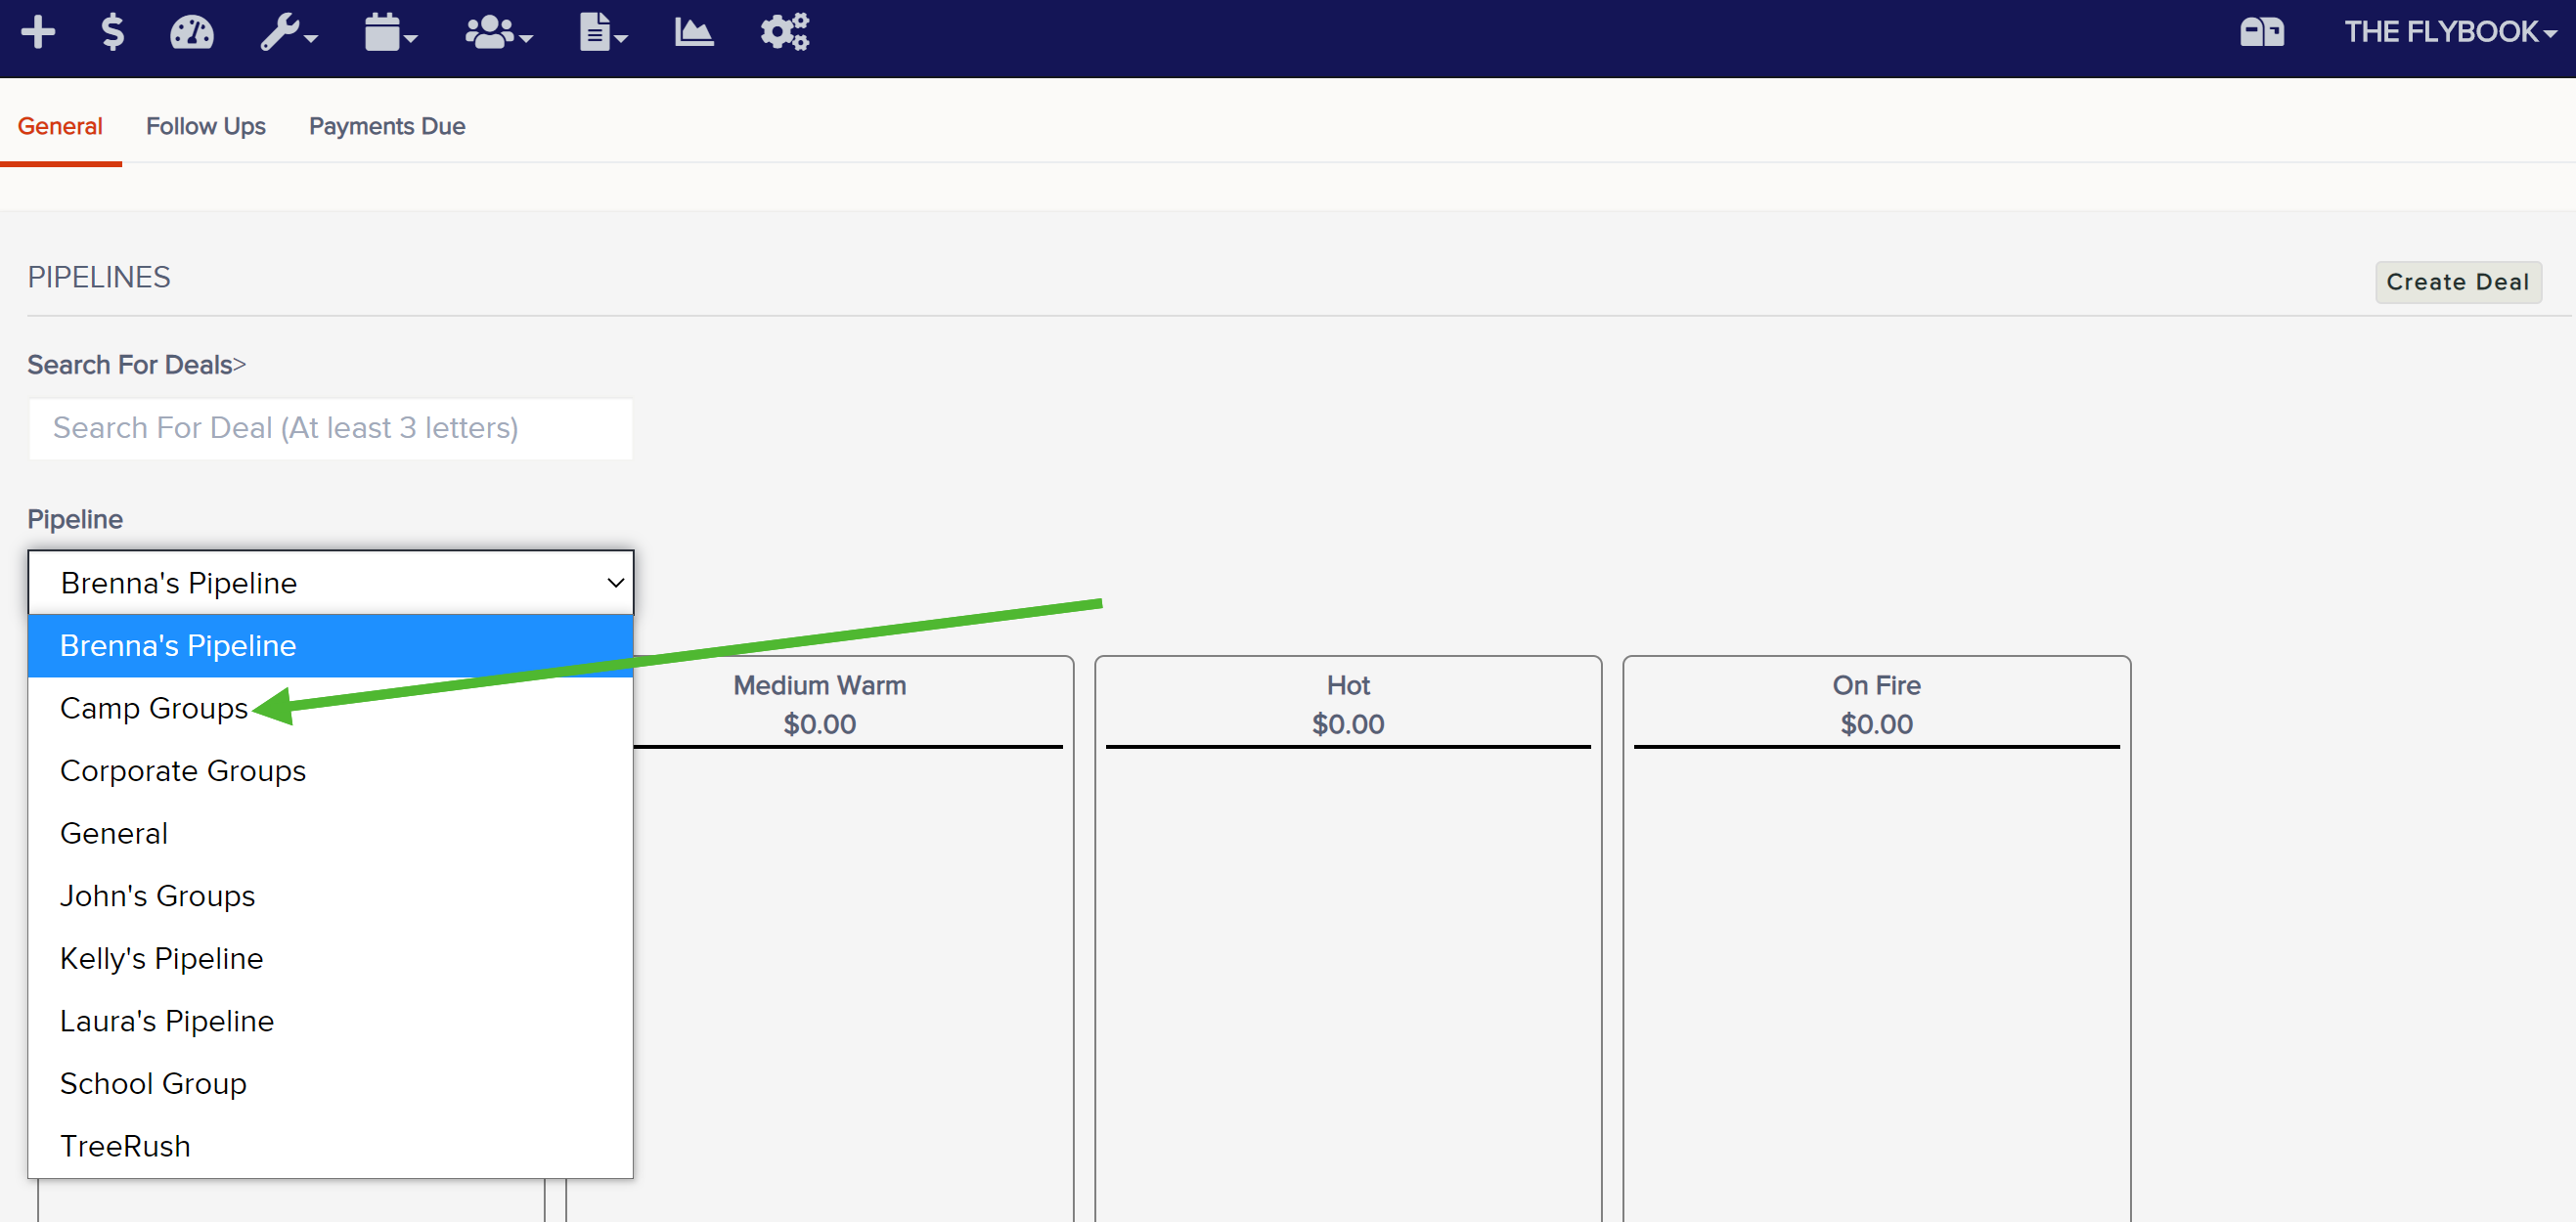
- From your list of pipelines, select the name of the pipeline you just created.

- Next, you going to create the stages of the pipeline. Some examples of stages could be "Initial Contact", "Quoted", "Booked", "Deposit Received", "Final Headcount/Final Payment Received".
To add a stage, on the right-hand side, type in the name of the first stage you want to add and then click Add. Repeat that process until you've added all the stages that you want to add. Note: It's important to add these stages in the order you want them to show on your pipeline.

That completes the setup of your pipeline. - Next, we're going to set up client tags. These are optional, but a nice extra way to keep track of clients who you're creating CRM deals for. If you don't wish to set up client tags, you can skip to step number 7.
To start creating client tags go back to Setup and under CRM select Client Tags.
- Client tags are just a way to label clients and allow you to run the Clients By Tag report (under Operational Reports) which will give you contact info for all clients associated with that tag. In this example, we're going to create a tag called Camp Directors.
Click Add New and name the tag. Then click Create.

Continue this process for any additional client tags you wish to create. - Another optional step in the setup process of your CRM, is to map front end inquiries or contact forms to your CRM. This can be a great option if you don't want your groups to be able to book online by themselves, but you want to give groups the option to indicate they have an interest in booking a group with you without needing to pick up the phone and call you. If you're not interested in setting this up, you can skip the rest of the setup instructions and go to the Using the Flybook CRM section of this article.
Below is a demo video showing you how to set that up:
Using the Flybook CRM
- On your top menu bar go to Clients and then select CRM.

- From the Pipelines dropdown, select the pipeline you want to work with at the moment. We're going to continue to use our Camp Groups pipeline for this example.
- Below is a video walking you through how to create a new deal and how to move a deal from one stage in your pipeline to another as well as how to archive a deal you no longer want showing on your pipelines.
If you have any questions or would like us to turn this feature on for your account, please contact support@theflybook.com